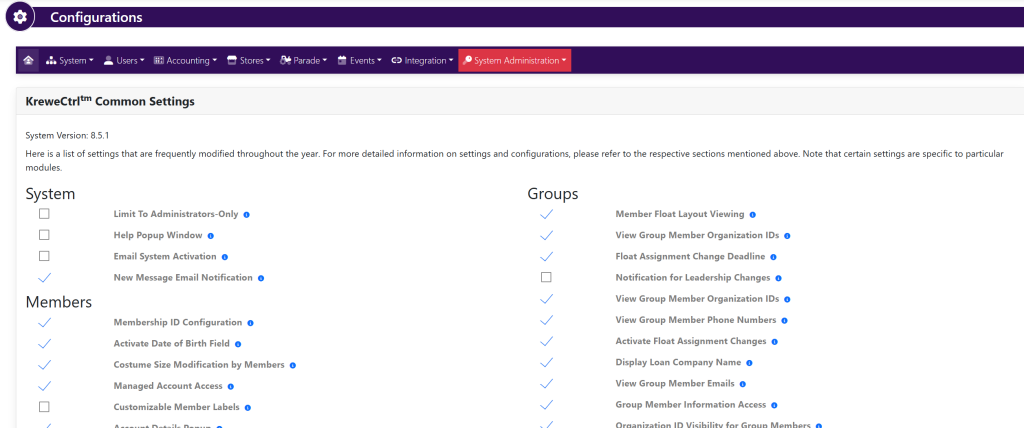
Go To Configurations and Settings. This will take you here:
In the horizontal navigation bar, select Users. Within the drop down, select Registration Layout. This will take you here:
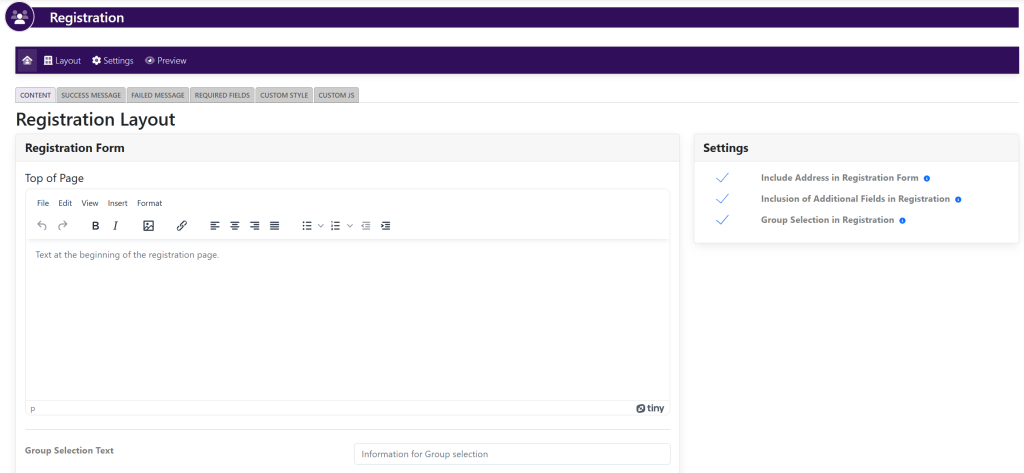
It is on this page that you can choose the settings within the Settings box of what you would like to have included within your registration page. You can select/deselect the checkmarks to your preferences.
The directions on how to edit what fields you require are down below.
To Edit The Successful Registration Text
This will edit the content that appears before the registration form.
Select the Success Message tab. This will take you here:
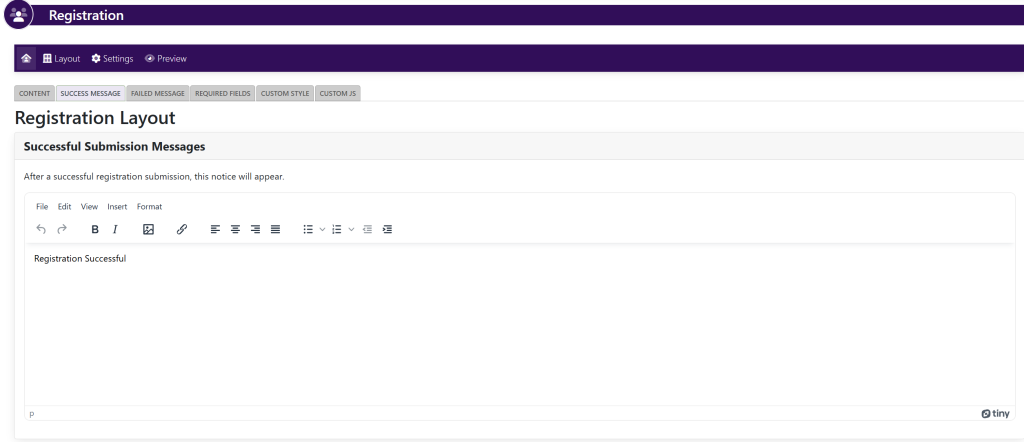
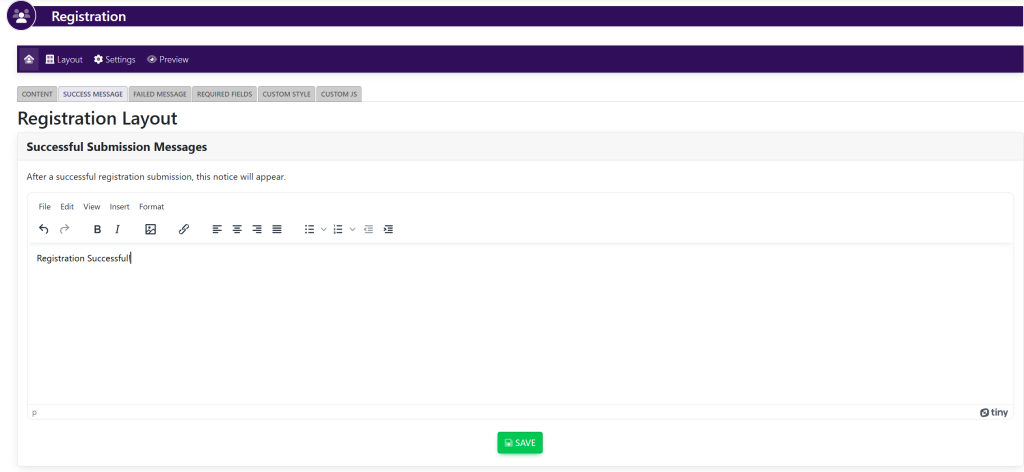
Within the Successful Submission Message box, type in the desired text that you would like for your potential members to see once they have submitted their registration. When finished, select the green button titled Save shown here:
To Edit The Failed Registration Text
This will edit the content that appears before the registration form.
Select the Failed Message tab. This will take you here:
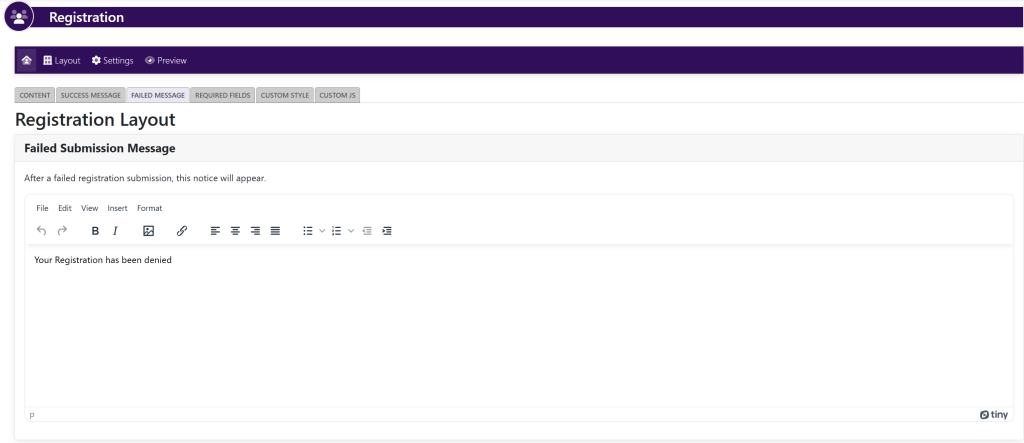
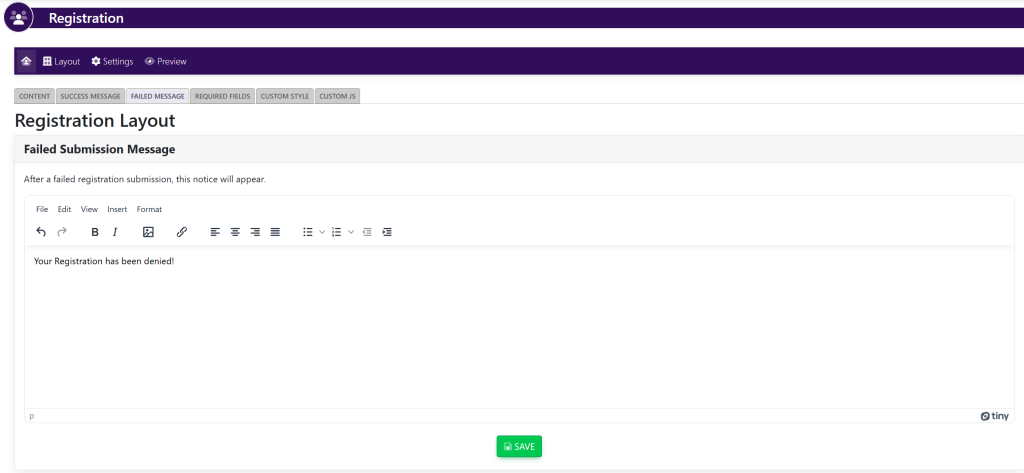
Within the Failed Submission Message box, type in the desired text that you would like for your potential members to see once they have submitted their registration. When finished, select the green button titled Save shown here:
Additional Options
You can change what you would like to have active/inactive within your registration form.
Select the Required Fields tab. This will take you here:
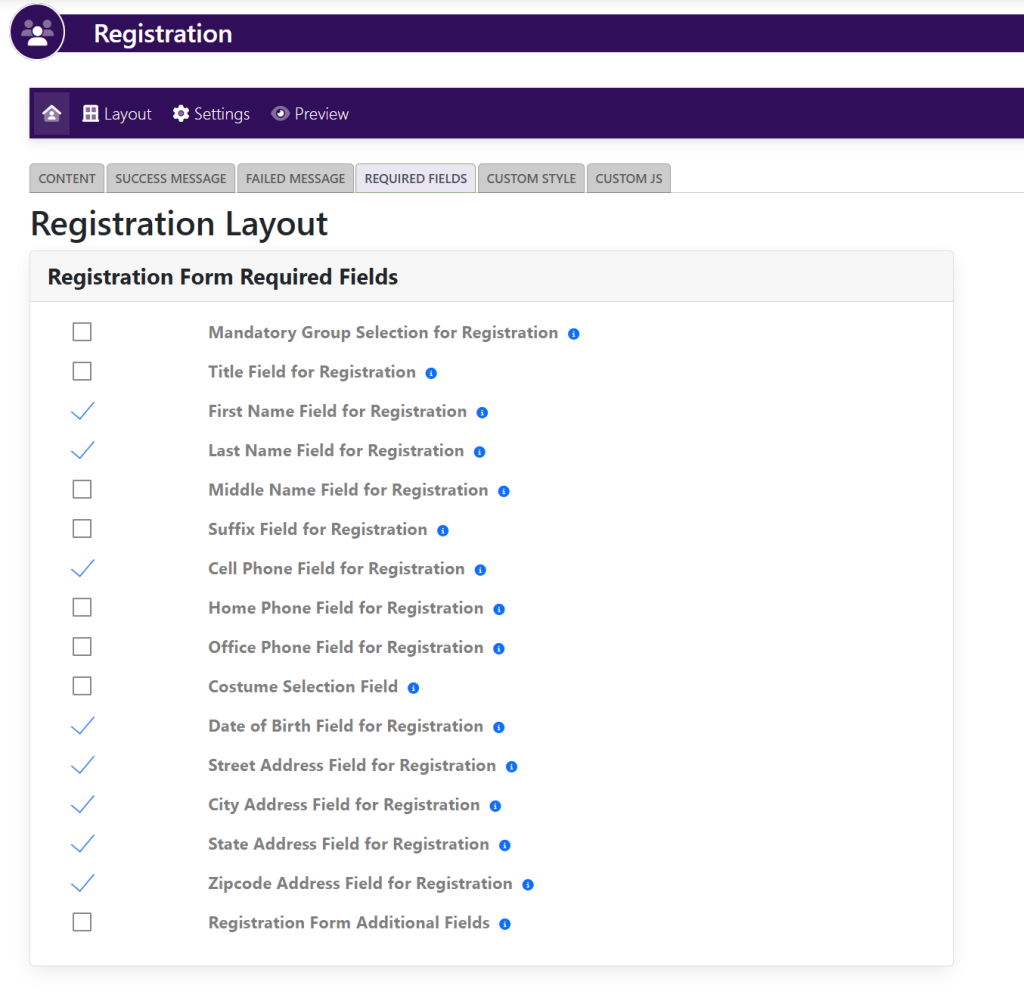
Use the checkmarks to the left of the settings to turn these requirements on or off.