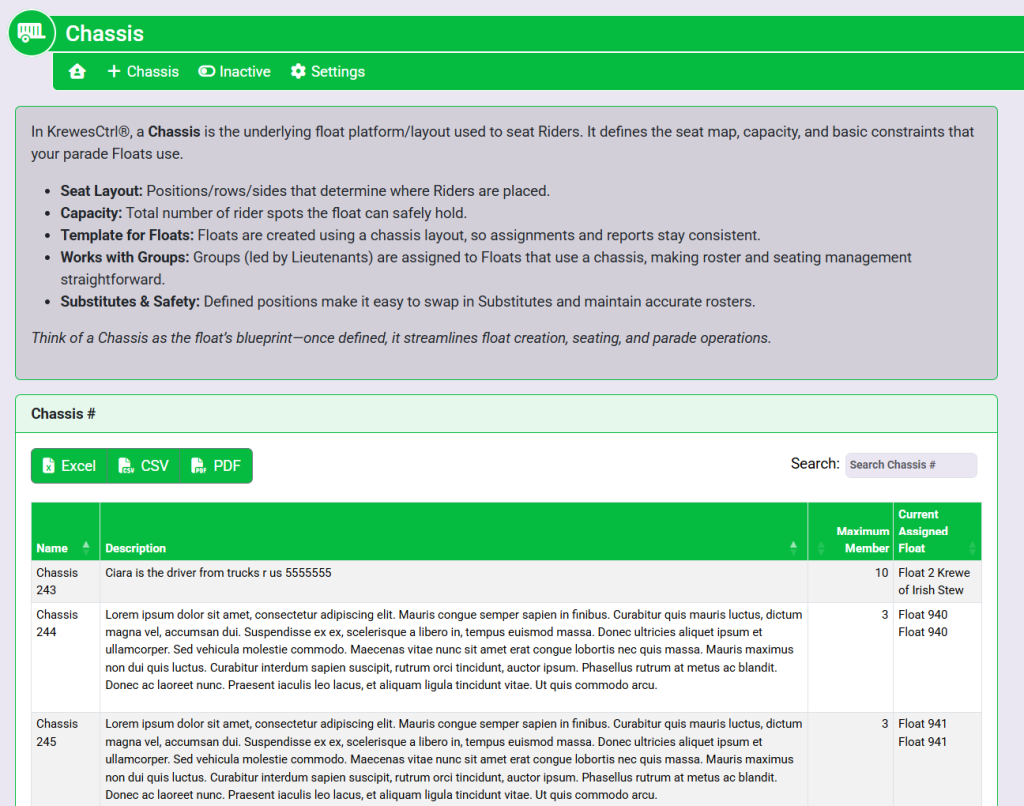
Within the left side navigation bar located the Parade Modules and select Chassis. This will take you here:

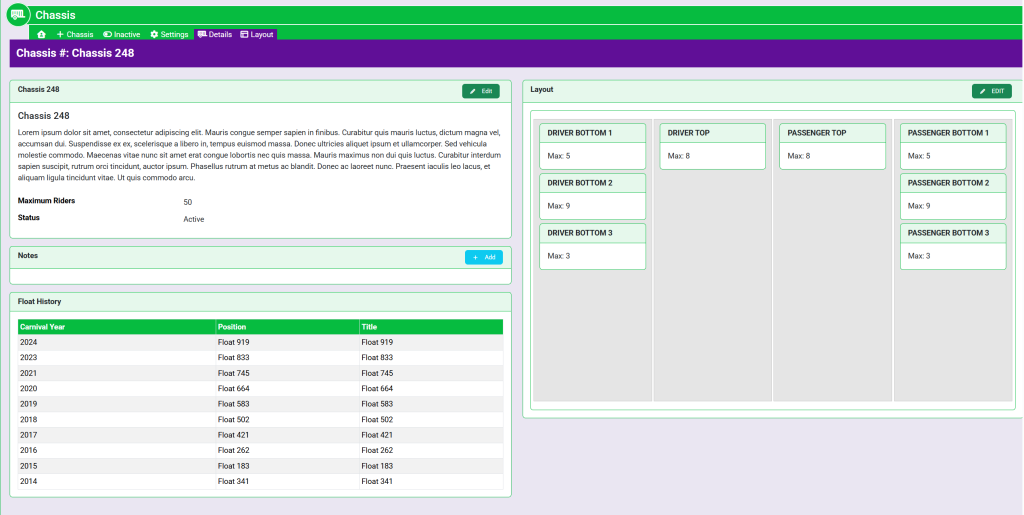
From the list provided, select the desired chassis. This will take you to this page:

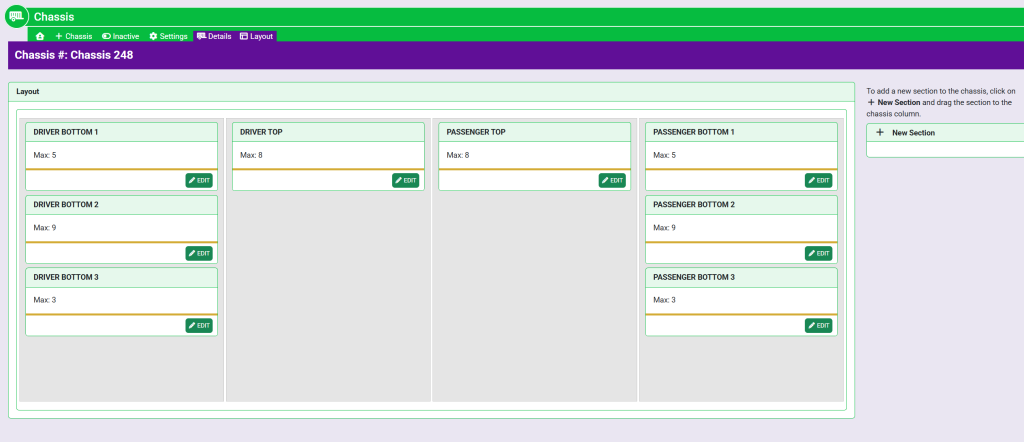
In the top right corner of the box titled Layout, select the green Edit button. This will take you here:

Here, you can add, delete, and rearrange sections.
To add a section, select the + New Section located on the right of the layout box and drag and drop it to the desired column.
Once a section is within a column, select the green Edit button within the section box to edit. A pop-up window will appear that looks like this:

Fill out the following information:
- Title of the float.
- Side – Choose Driver or Passenger side.
- Size – Top, Middle or Bottom.
- Maximum Positions – This prompts you to specify the maximum amount of spots are allowed within this section of the float.
- Position Prefix – This assists with labels. For instance, the prefix could be DSM (Driver Side Middle).
- Top Spacing
- Additional Styling
Once filled out, select the green Update button at the bottom of the pop up.
These are sample names.
