On the left side bar under EVENTS, select Events. This will take you here:
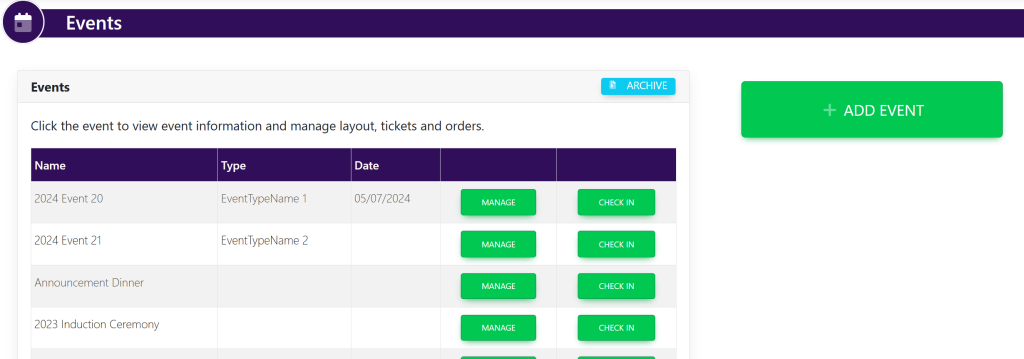
To the right of the event that you wish to start making check in’s, select the green button titled ‘Check In’. This will take you here:

Select the tab titled ‘Self Check In’ and a QR code will appear that looks like this:
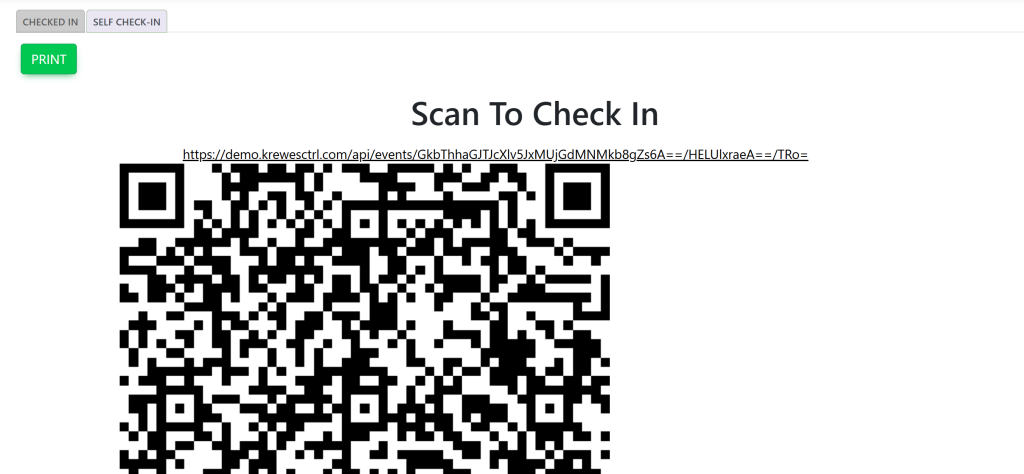
The member will open the camera on their phone and hold it up to the QR code. A URL to a website will appear. Once the member selects the URL, it will take the member here:
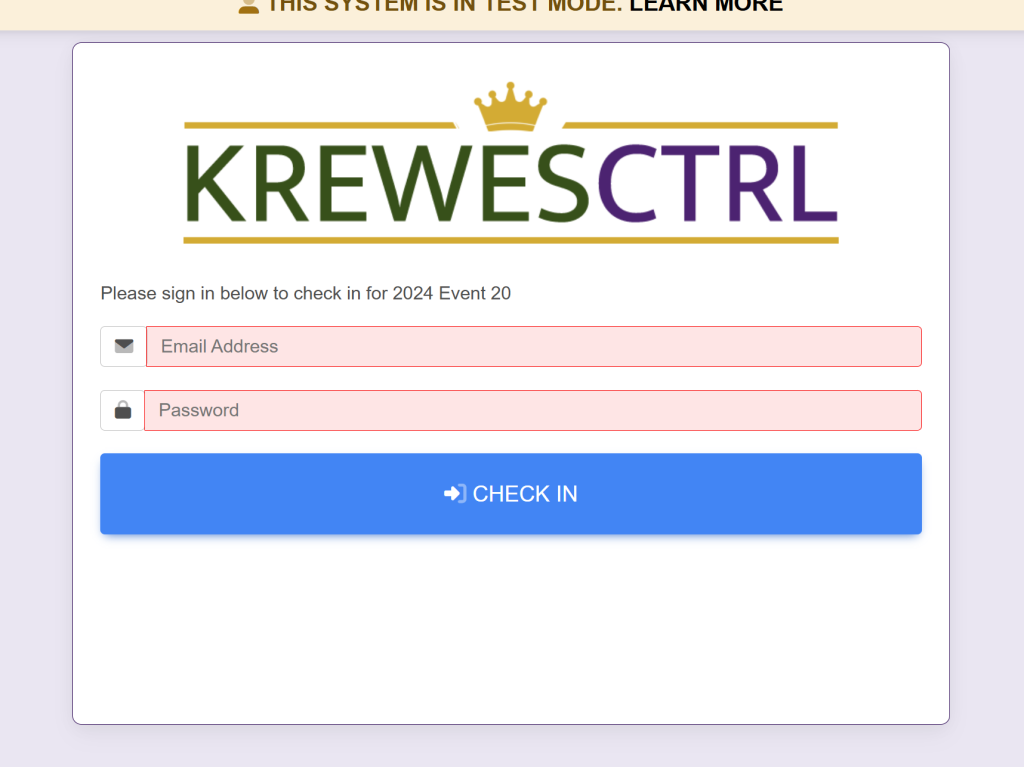
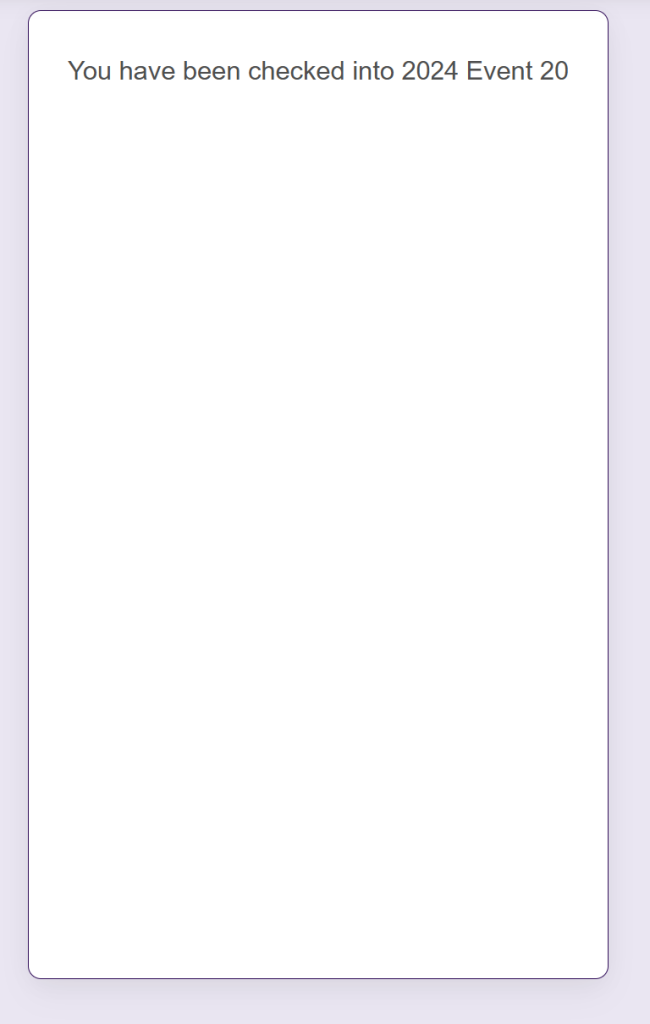
The member will input their sign in credentials for their account on the KrewesCtrl software. Then, the member will select the blue box titled ‘Check In’. Once selected, the members’ screen will show this:
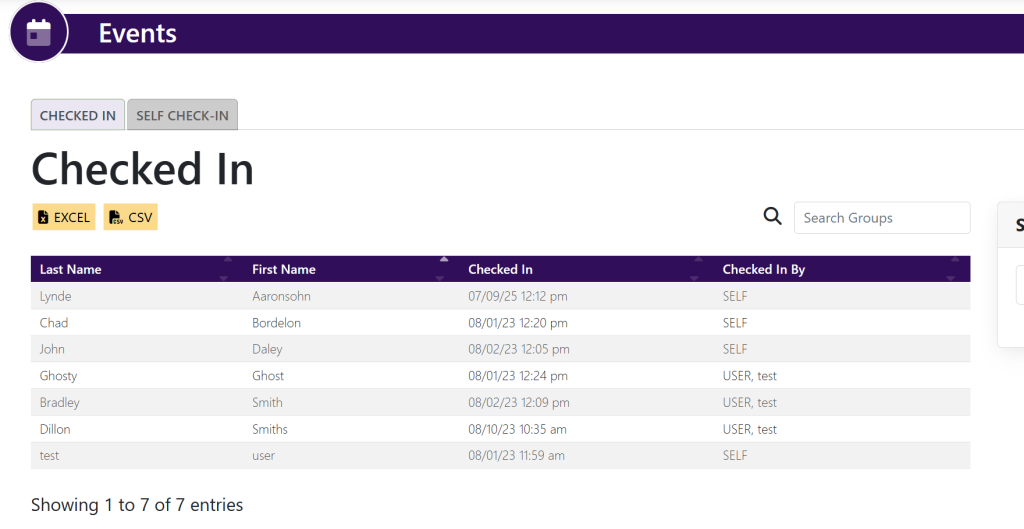
Administrators will then see their name appear on the Checked In tab. It will look like this:
ALTERNATIVELY:
You can check in members as an administrator by utilizing the Search Members box within the Checked In screen to the right. See here:
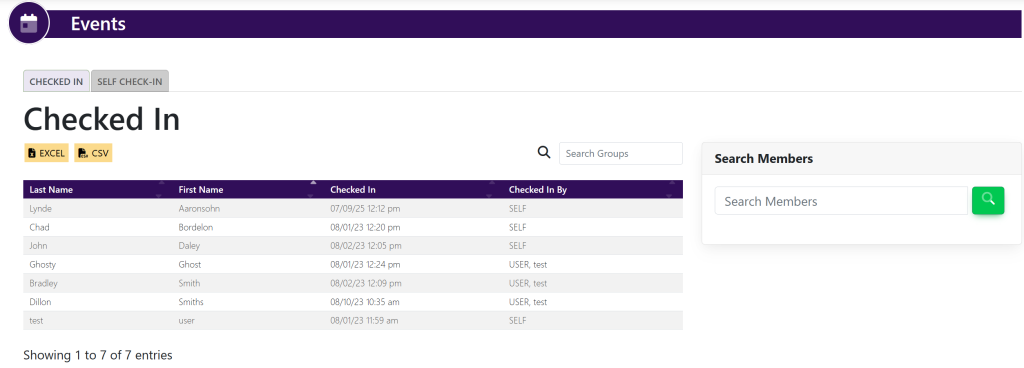
Type in the member’s name that you wish to check in and select the magnifying glass. It will look like this:

Then, select the green box titled ‘Check In’ to the left of the members’ name.
Once checked in, the list will populate with the members’ name. It will look like this:
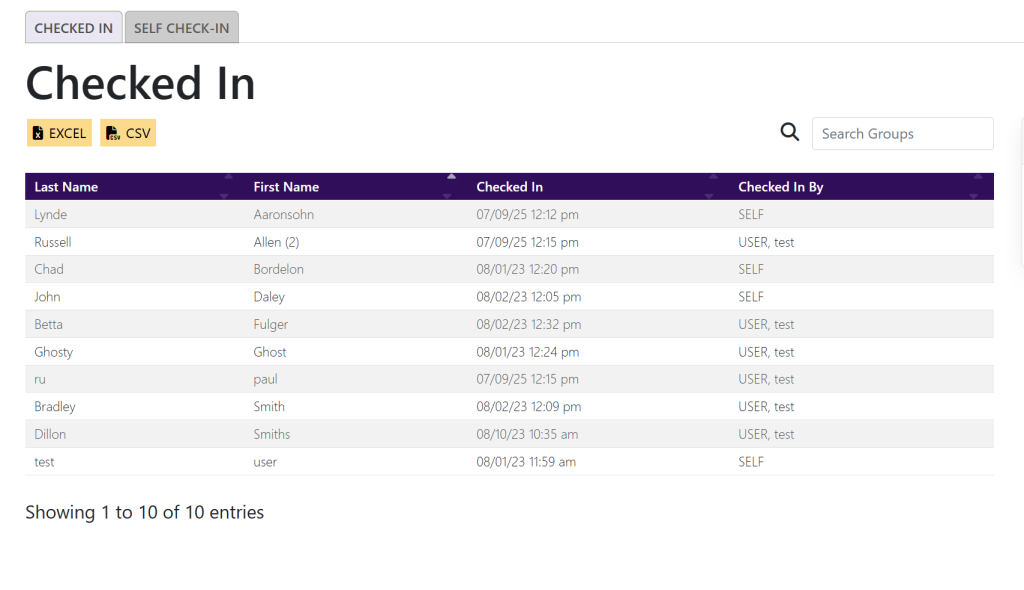
These are samples.
